Ghee is a type of clarified butter, originating from India. It is commonly used for cooking. Clarified butter is butter from which all milk solids have been removed. The result is a clear, yellow butter that can be heated to higher temperatures before burning. The main difference in ghee and clarified butter used in other cuisines is that ghee is cooked for longer, has a slightly darker colour and a nutty flavour, whereas clarified butter that isn’t cooked for as long is more neutral in taste. More info here, here, and here.
One of the main features of ghee is that it’s got a higher smoking point than butter so you can use it for sautéeing. The smoking point of butter is 150ºC (302ºF) whereas the smoking point of ghee is 232ºC (450ºF), so in scenarios where you’d normally use sunflower oil, avocado oil, vegetable oil, canola oil, or coconut oil, you can use ghee. More info on smoking points here.
I enjoy using ghee to pop popcorn kernels when making homemade popcorn. Using ghee to pop the popcorn, and then melting butter and layering it on top of the freshly-popped popcorn is a very savoury experience, and it pairs nicely with a glass of red wine.
Tools
a pot or pan, e.g. stainless steel, cast iron, etc. (I used cast iron)
tablespoon
metal sieve
Pyrex glass measuring cup, or another vessel that’s easier to pour from than a pan
cheesecloth (preferred) or coffee filter or paper towel
glass jar
Ingredients
1 large brick of butter (2 cups)
Preparation
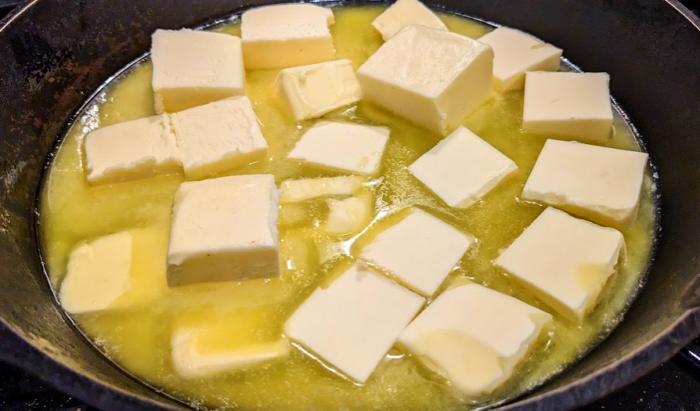
Chop up the butter into large chunks and put it in the pan. Turn the heat on to medium.
Bring the butter to a simmer and reduce the heat slightly. You want it to cook at a lower temperature, slightly simmering, not be boiling.
After a period of time, you will notice the components of the butter begin to separate:
- milk solids (whey protein) floats to the top
- casein (protein) sinks to the bottom, often sticking to the pan
- fat/oils remain in the middle—this is the butterfat / the clarified butter / the ghee!
Spoon the foam off the top. This can be discarded, or if you think you can save it for something, do so.
When it starts to brown, it’s time to turn off the heat. You can even turn it off before it starts to brown to get a clearer, more neutral flavour.
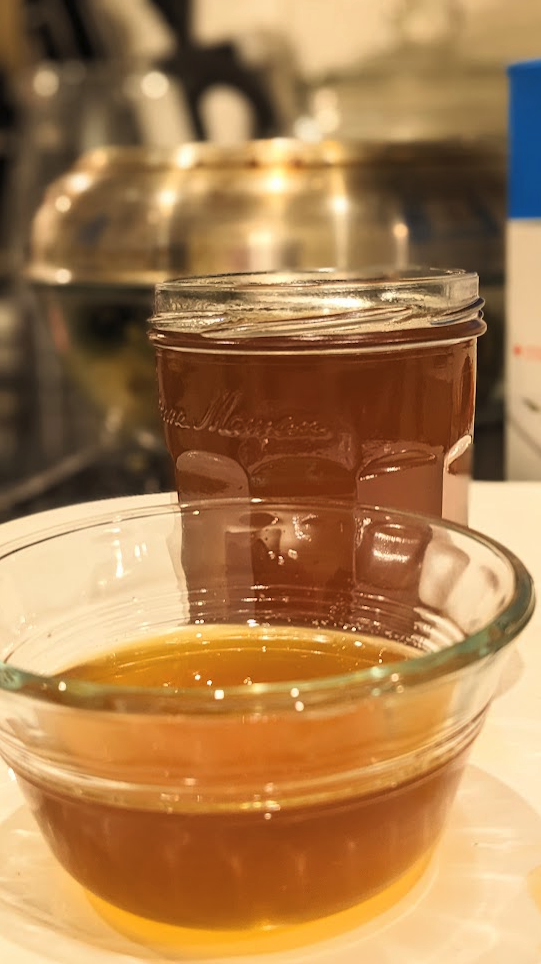
Pour the finished product into the Pyrex measuring cup (or whichever vessel you chose that’s easier to pour into a small jar rather than a pan). For simplicity sake, let’s call this “the vessel.”
Set up the sieve and cheese cloth on top of the jar you wish to store it in.
Pour the finished product from the vessel onto the metal sieve and cheese cloth. You should notice brown solids collect in the cheesecloth, and the finished product (the ghee, the clarified butter) drip into the jar.
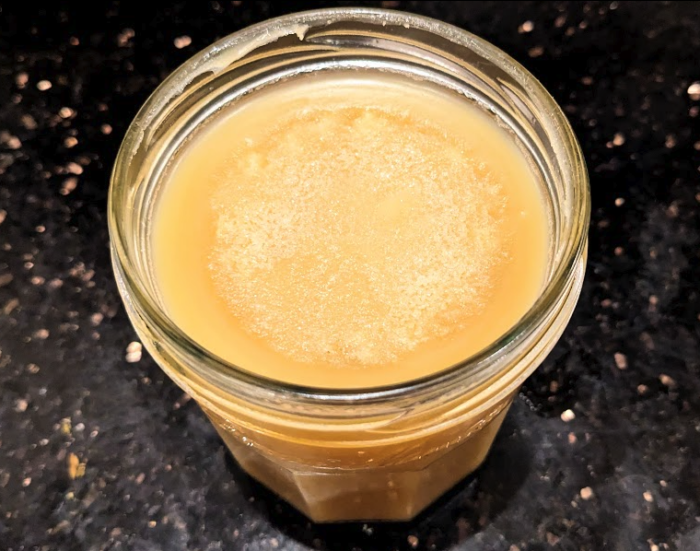
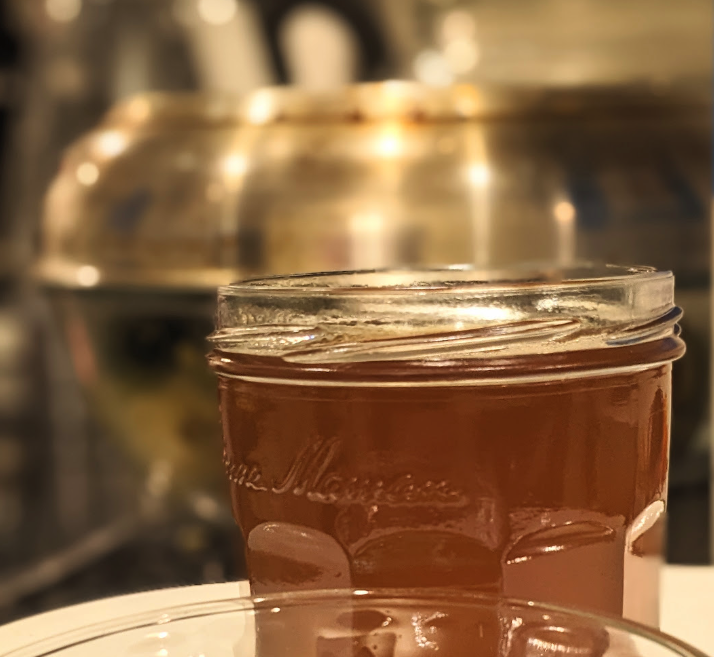
That’s it, you’re done! Now store it either in the pantry or in the refrigerator.
According to the internet, it lasts up to 3 months at room temperature or a year in the fridge. This is my first time making it so I can’t personally confirm that. I imagine I’ll get through it within a couple of months.